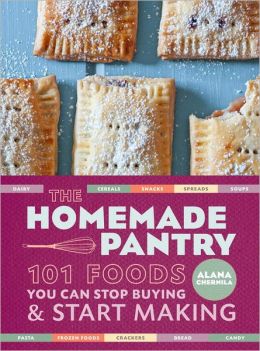
So the other day I was looking through my new favorite book ever.

And was intrigued by her recipe for Cheese Crackers. I made them and not only were they super easy but guess what? They were SOOOOOOOO GOOOOOD!!!!!!!!!!!!!!!!!!!!!!!!! I mean it. I made an entire batch and we ate them all as soon as we could get them into our mouths without burning out tongues.
They didn't taste anything like Cheezits, they tasted like cheese! So you know you are dieing to make them yourself.
Cheese Crackers
1 1/2 Cups flour
1 1/2 Cups (6oz) Shredded Cheddar Cheese
1 tsp Salt
3 Tablespoons Cold Butter cut up into cubes
3/4 Cup Water
2 tsp white vinegar
1 tsp mustard or mustard powder
Mix water, vinegar and mustard in a glass measuring cup or bowl and stick in in your freezer to get cold. Leave it there for no less than 10 minutes. In the meantime, mix flour, salt, cheese and butter. (I used a food processor.) When your liquids are really cold, using a mixer or food processor, combine liquids and dry stuff by pouring the liquid in a little at a time. When you are done you will have a very moist ball of cheese dough. Don't be scared by how moist it seems.
Wrap the dough in plastic wrap and chill in the fridge for a minimum or two hours. When it has chilled, dust your counter with flour and roll out your dough between 1/8 and 1/4 inch thick. I liked mine closer to 1/4. Then you can either use a pizza cutter or a tiny cookie cutter to cut them out. I would HIGHLY recommend lining your pans with parchment paper, but if you choose not to just make sure you spray them with Pam or something.
Cook them at 325 degrees for 20-30 minutes. Check them every three minutes or so after 20 minutes because they get brown very quickly. Also, rotate your pans after 10 minutes. This helped me huge because my oven tends to cook things unevenly.
Enjoy!!!!!


No comments:
Post a Comment